Description
- These step-by-step instructions will guide you through loading the fitted geometry included fitted fiber angles of rabbit ventricles
-
An automated script that runs this tutorial is included in the Continuity installation: examples\data04\rabbitFibers.py. To run it, click File→Scripts→Read script…
Create Mesh
- Launch the Continuity 6.3 Client
-
-
Select rectangular cartesian in the Global Coordinates: pop-up menu
-
Click OK to submit Coordinate Form
-
-
-
Choose Hermite Basis Function→3D→Cubic→Cubic→Cubic
-
Click Add Cubic-Cubic-Cubic
- Verify that the list of basis functions now contains:
- Cubic-Cubic-Cubic Hermite 3*3*3
- Cubic-Cubic Hermite 3*3
-
Click OK to submit Basis Form
-
-
-
Click Import/Export/Graph button to open Continuity Table Manager
-
Continuity Table Manager→File→Open…
-
Select tab-delimited nodes file ( nodes.xls )
-
-
- You should now have nodes numbered 1-100
-
Click OK to submit Node Form
-
-
-
Click Import/Export button to open Continuity Table Manager
-
Continuity Table Manager→File→Open…
-
Select tab-delimited elements file ( elems.xls )
-
-
- You should now have 48 elements
-
Click OK to submit Element Form
-
-
View→EditDimensions…
-
Click Accept marked recommendations and click OK
-
-
Mesh→Edit→Material Coordinates…
-
Click on the Submit tab
-
Click on the Submit Button
-
-
-
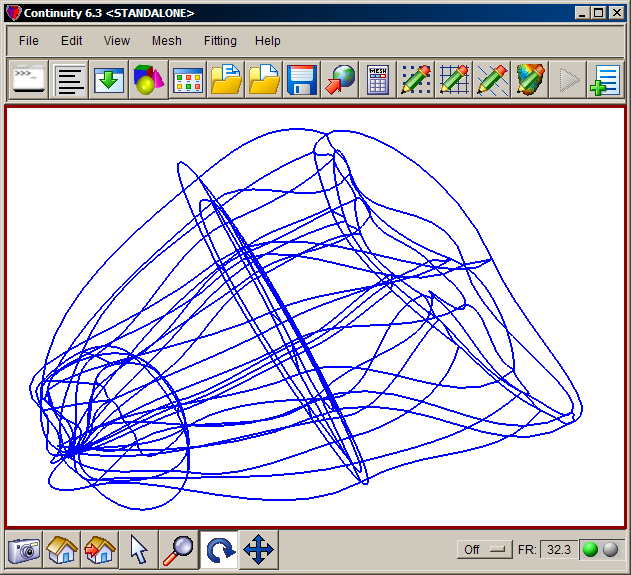
Click the lines radio button
-
Click Render to display mesh lines
-
- The mesh should now look simliar to the first screenshot
-
-
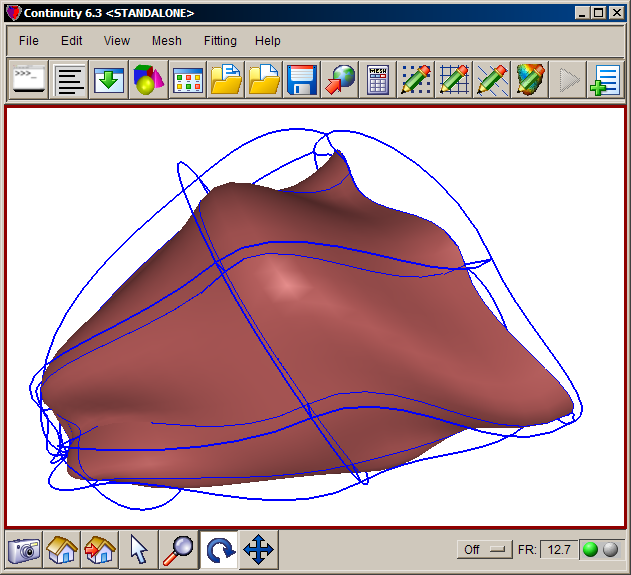
Click the surfaces radio button
-
Click Render to display mesh surface
-
- The mesh should now look similar to the second screenshot
-
Mesh→Edit→Material Coordinates…
-
Click on the OK Button
-
-
-
Leave default settings and click OK
-
-
-
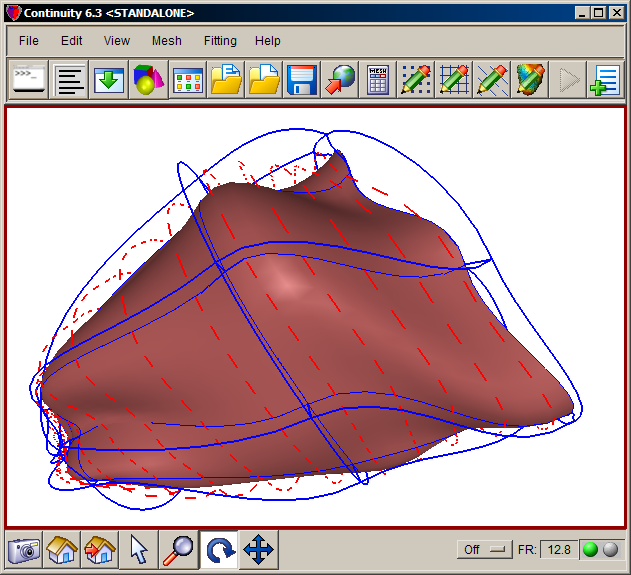
Click on material axes3 in the list on the left
-
Click on the Properties tab
-
For the Size field, type in 10 to change the size and hit Enter
- The mesh should now look similar to the third screenshot
-
Pre-built model
This cont6 file contains all data and parameters for this problem: fit4.cont6


